Getting Started with Trezor.io/start: Your First Step Towards Crypto Security
For anyone entering the world of cryptocurrency, security is paramount. With the rise of digital assets, it’s more important than ever to protect your crypto investments. Trezor.io/start offers a comprehensive guide to getting started with Trezor, one of the most secure hardware wallets on the market. Whether you're a beginner or a seasoned investor, Trezor ensures your crypto remains safe from hackers, phishing attempts, and malware.
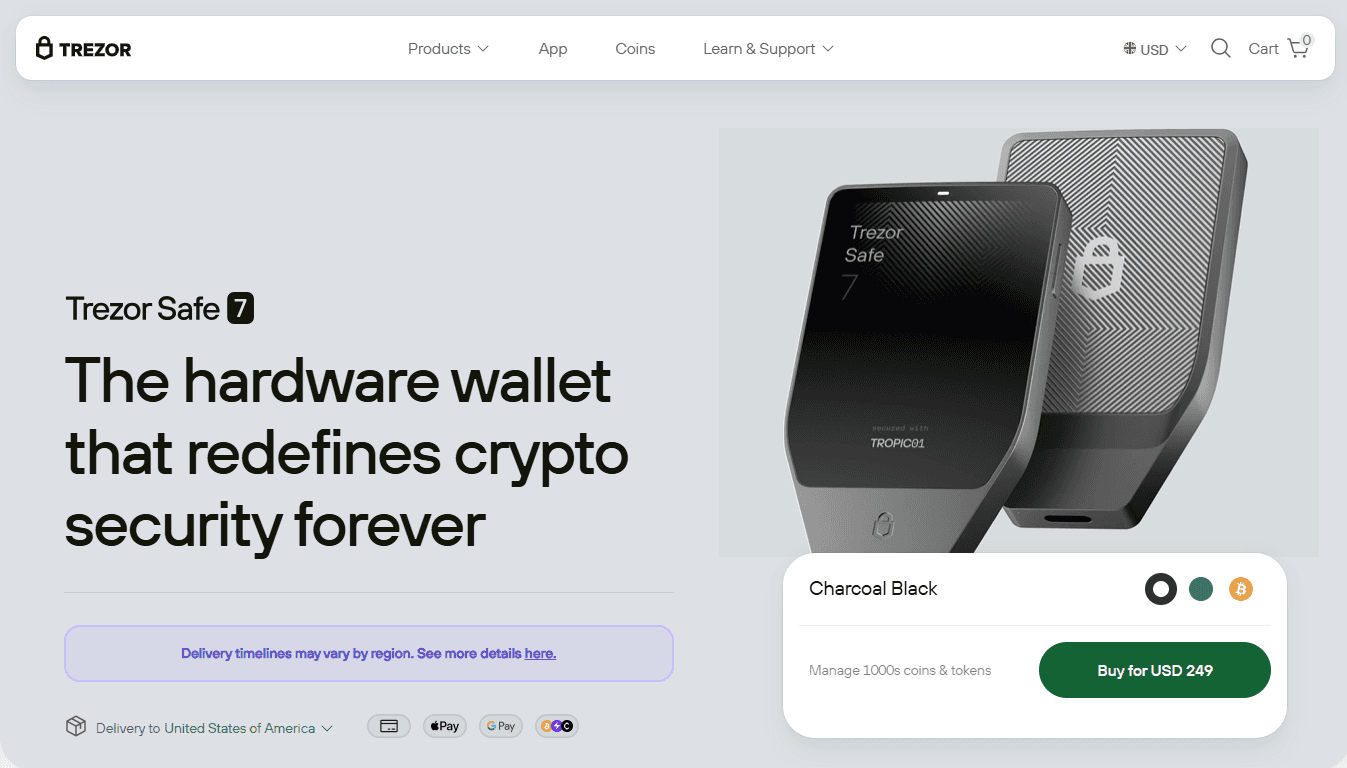
To begin your journey, head to Trezor.io/start. The first step in setting up your Trezor hardware wallet is to connect it to your computer via a USB cable. Once connected, the website will prompt you to download Trezor Suite—the official software for managing your Trezor wallet. It’s compatible with major operating systems like Windows, macOS, and Linux, making it accessible to a wide range of users.
After downloading Trezor Suite, the setup process begins with creating a PIN code. The PIN acts as an additional layer of security to protect your wallet. Even if someone were to physically steal your Trezor device, the PIN ensures they cannot access your assets without it. The next crucial step is generating a recovery seed—a set of 12 or 24 words that serves as a backup in case your device is lost or damaged. Trezor.io/start recommends writing the recovery seed on paper and storing it in a secure offline location.
Once the setup is complete, your Trezor device is ready to store and manage your cryptocurrencies. The key advantage of using a hardware wallet like Trezor is that it stores your private keys offline, making it virtually immune to online hacking attempts. With Trezor.io/start, even first-time users can easily set up their hardware wallet and enjoy top-notch security for their crypto investments.
By following the easy-to-understand instructions at Trezor.io/start, you ensure that your digital wealth is safely stored and protected from any cyber threats.